1. Settings Overview
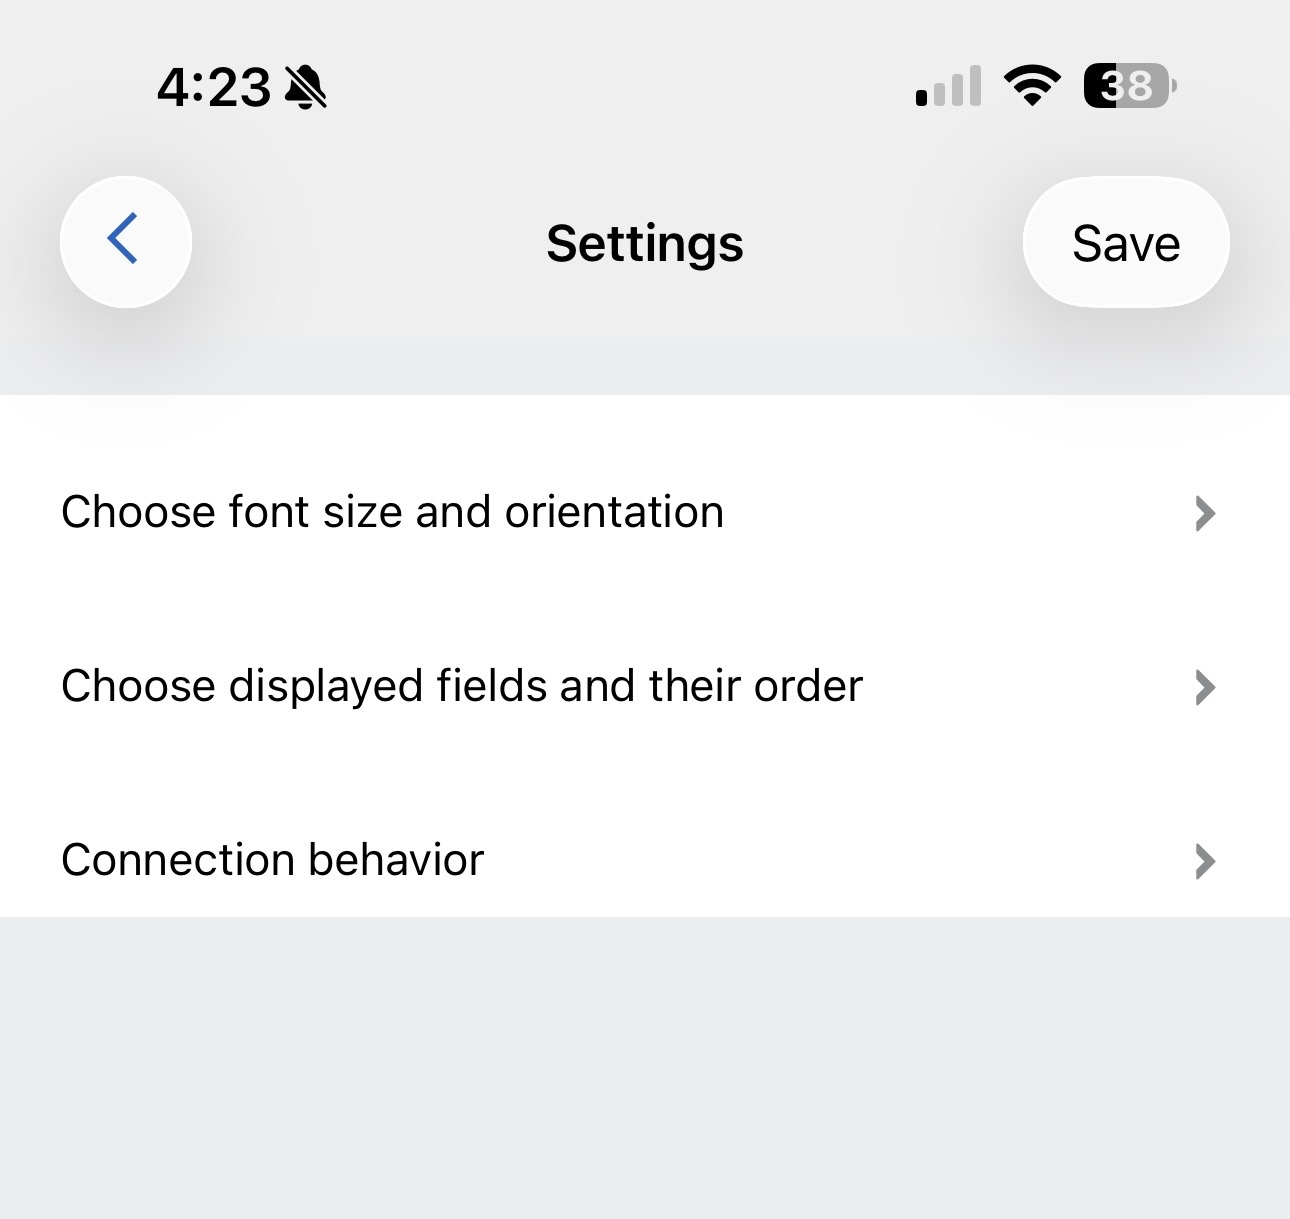
From within the ConnectIQ Store App, the settings for the data field are now organized into three groups.
If you update to the latest version of the data field (3.2.0 or later) and have an older Edge device or older watch, the data field will work with whatever radar you have, including the new RearVue 820 radar.
If you have an x40/x50 Edge device or newer watch, then you MUST CHANGE THE DEFAULT SETTINGS to make the data field work with the RearVue 820 radar as documented below:
As a general tip, make sure you power on your radar BEFORE you power on you Garmin! This solves most problems no matter which radar and which 3.x version of the data field you have.
Also, on x40/x50 Edge devices and newer watches that support "tap" within a data-field, you can try double-tapping the data field if you run into problems. What that does depends on what connection setting you are using. For modes "820 only" and "older radars only", this basically "resets" the connection. For the "Switch between radars" mode, this will speed up the process of connecting to an 820 RearVue radar in Secure Bluetooth mode by skipping the wait for an older radar.
Use the screenshots below as a visual walkthrough for the latest settings screens.
From within the ConnectIQ Store App, the settings for the data field are now organized into three groups.
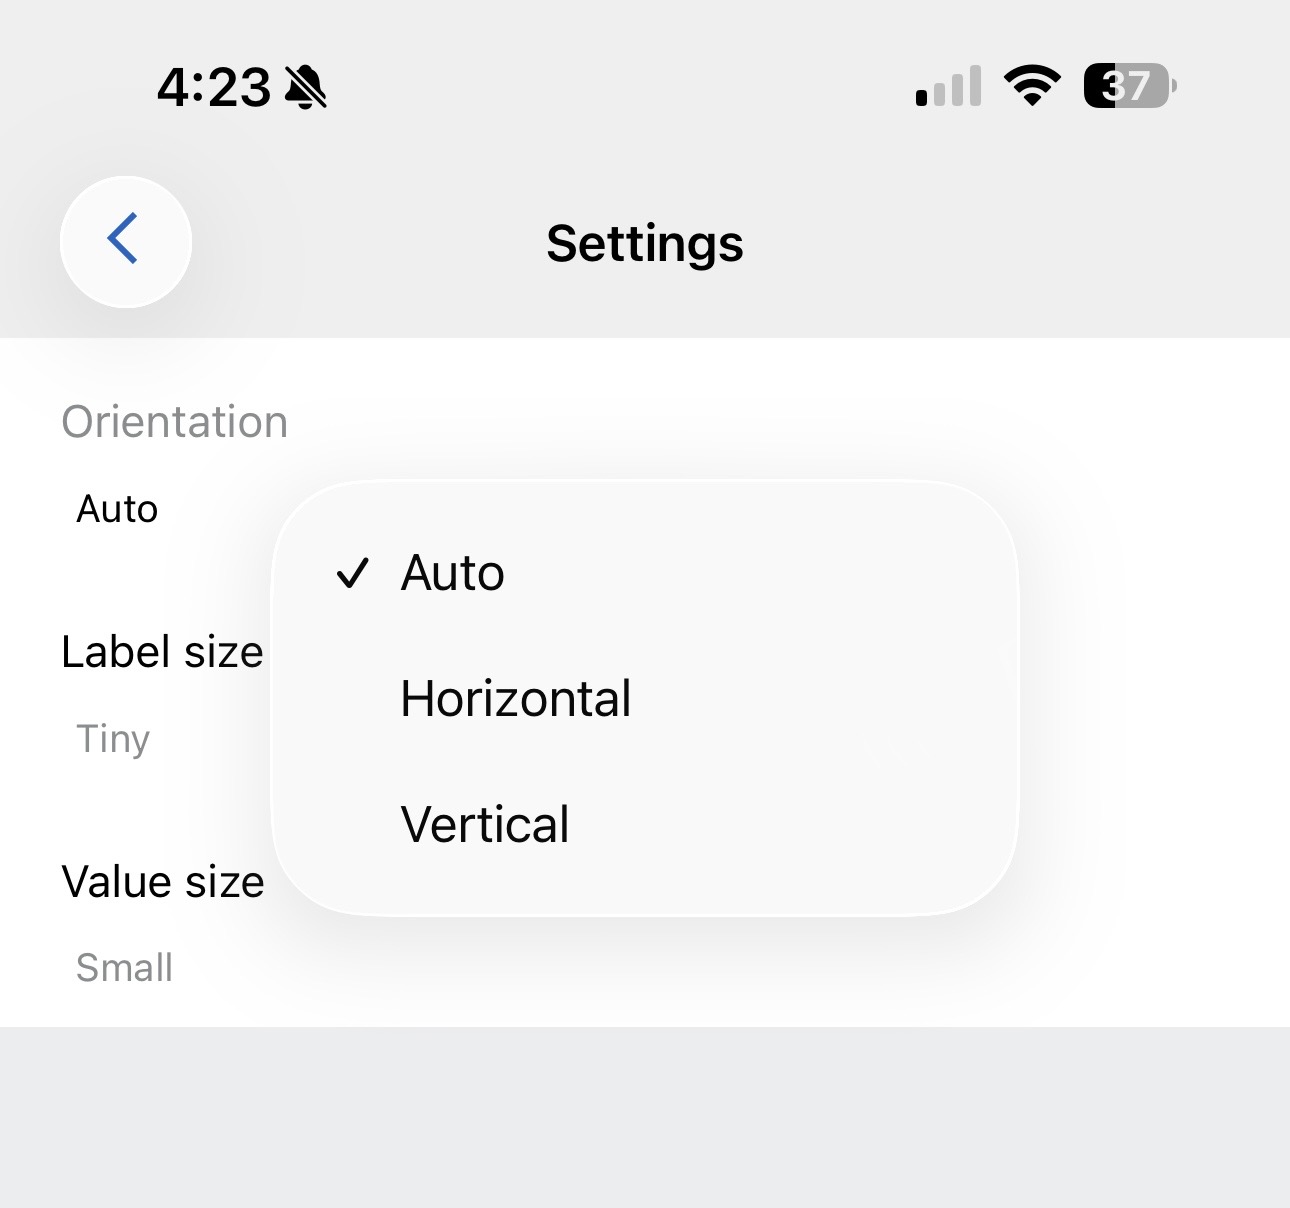
Horizontal means the data values will be displayed side-by-side with the labels above each value.
Vertical means the data values will be displayed in a column with the labels to the left of each value.
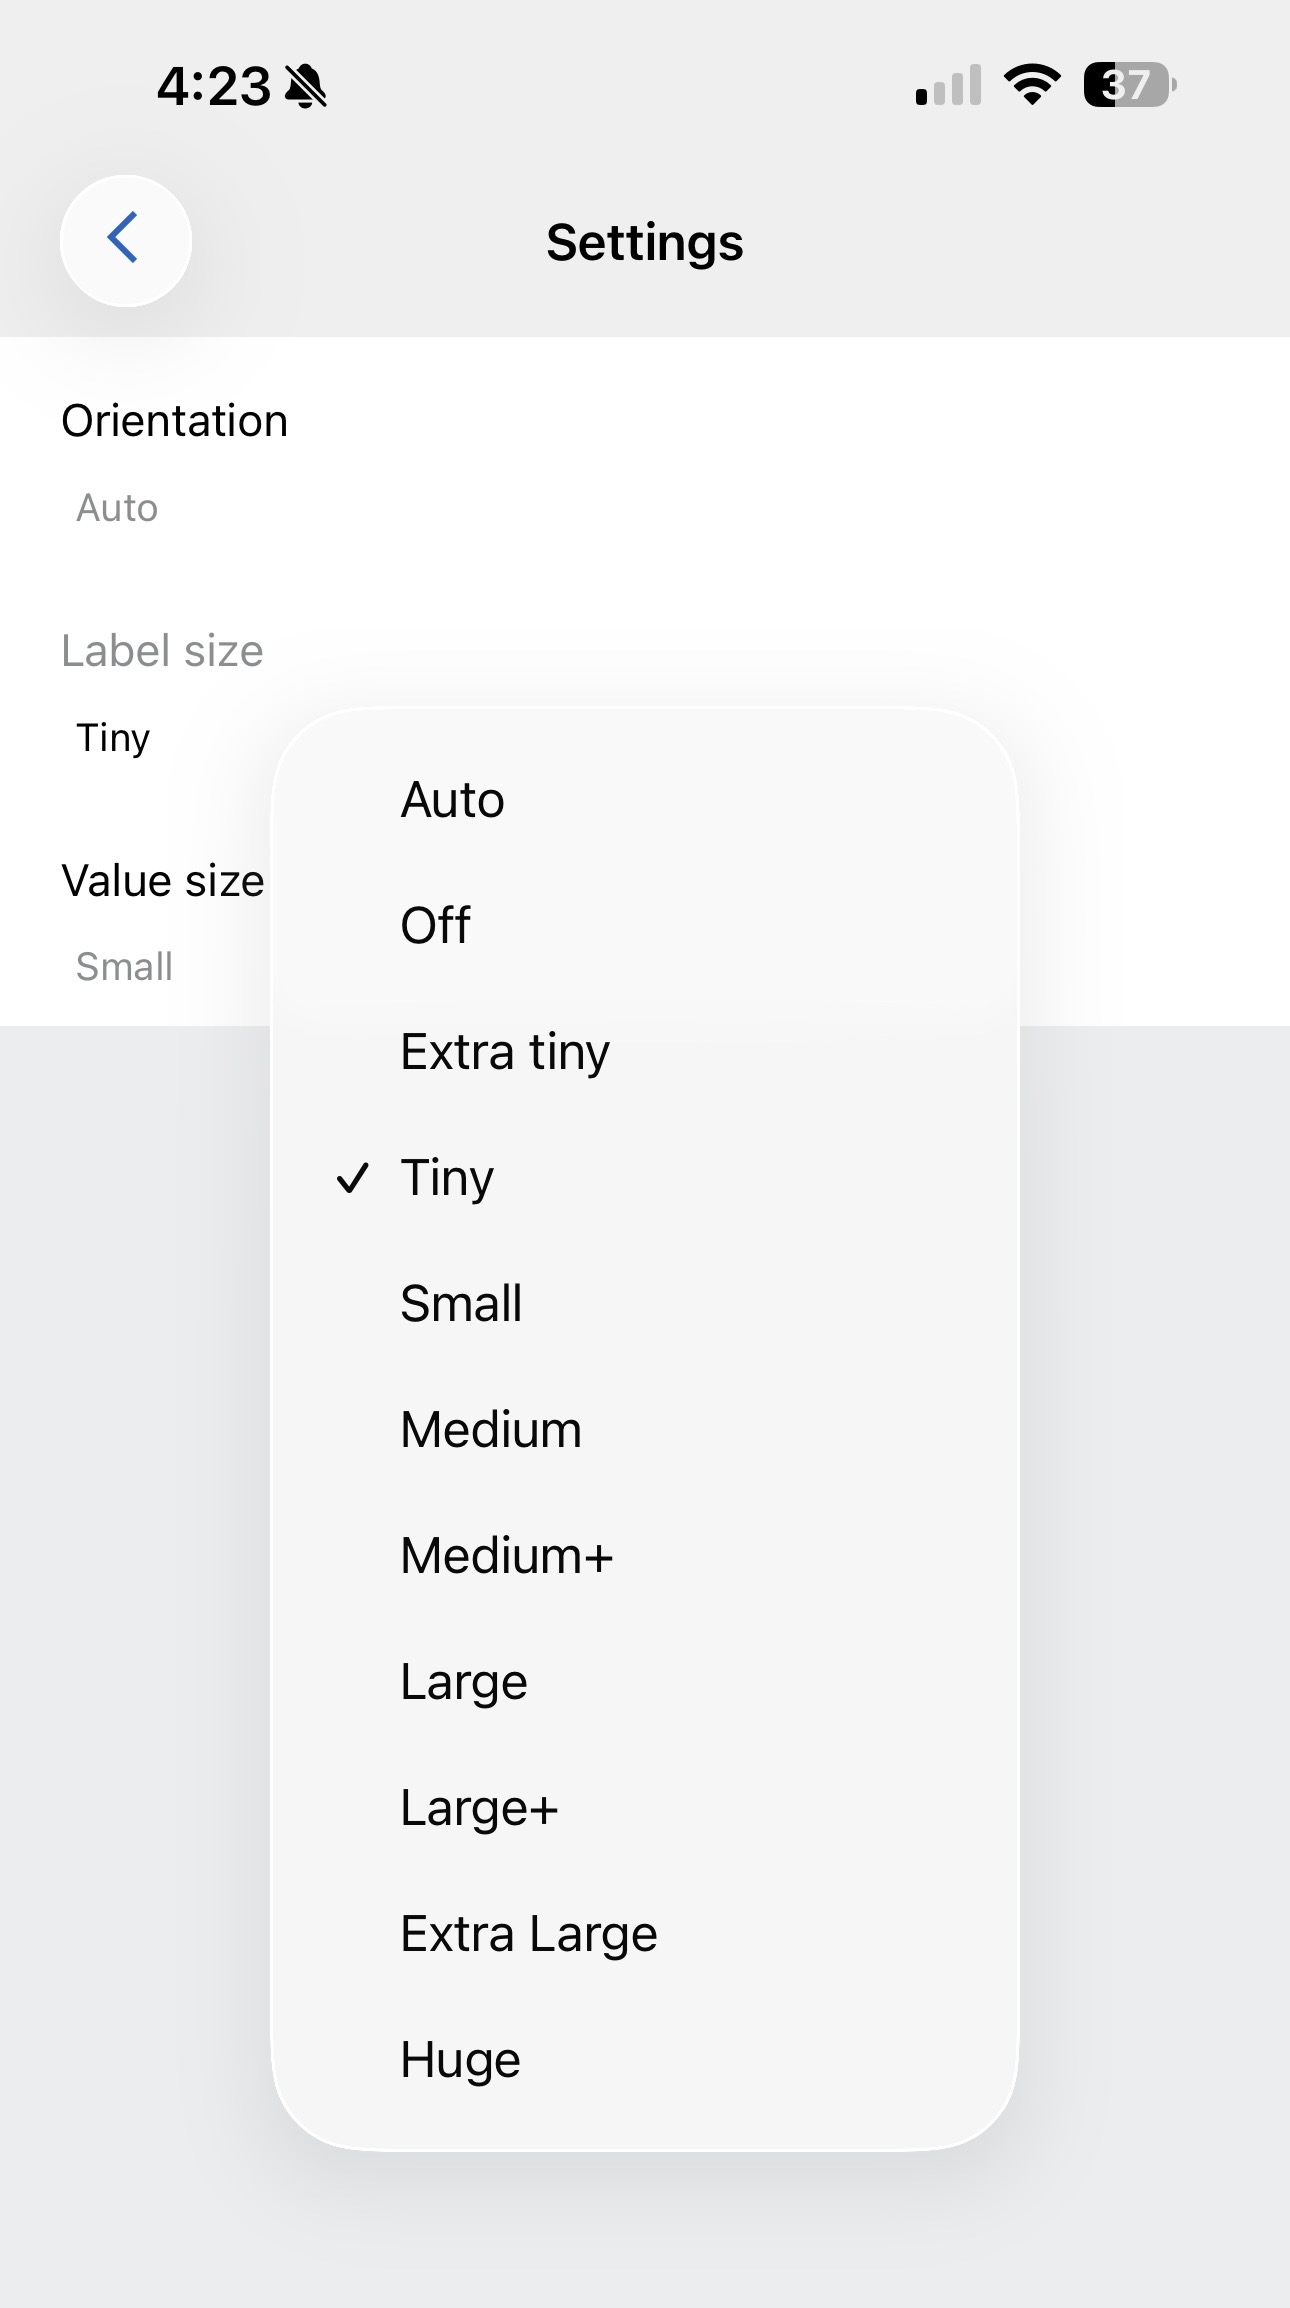
Choose from a variety of font sizes to customize the appearance of your data field. On my Edge 1040 device, LARGE is still pretty small, so keep that in mind when you are selecting a size.
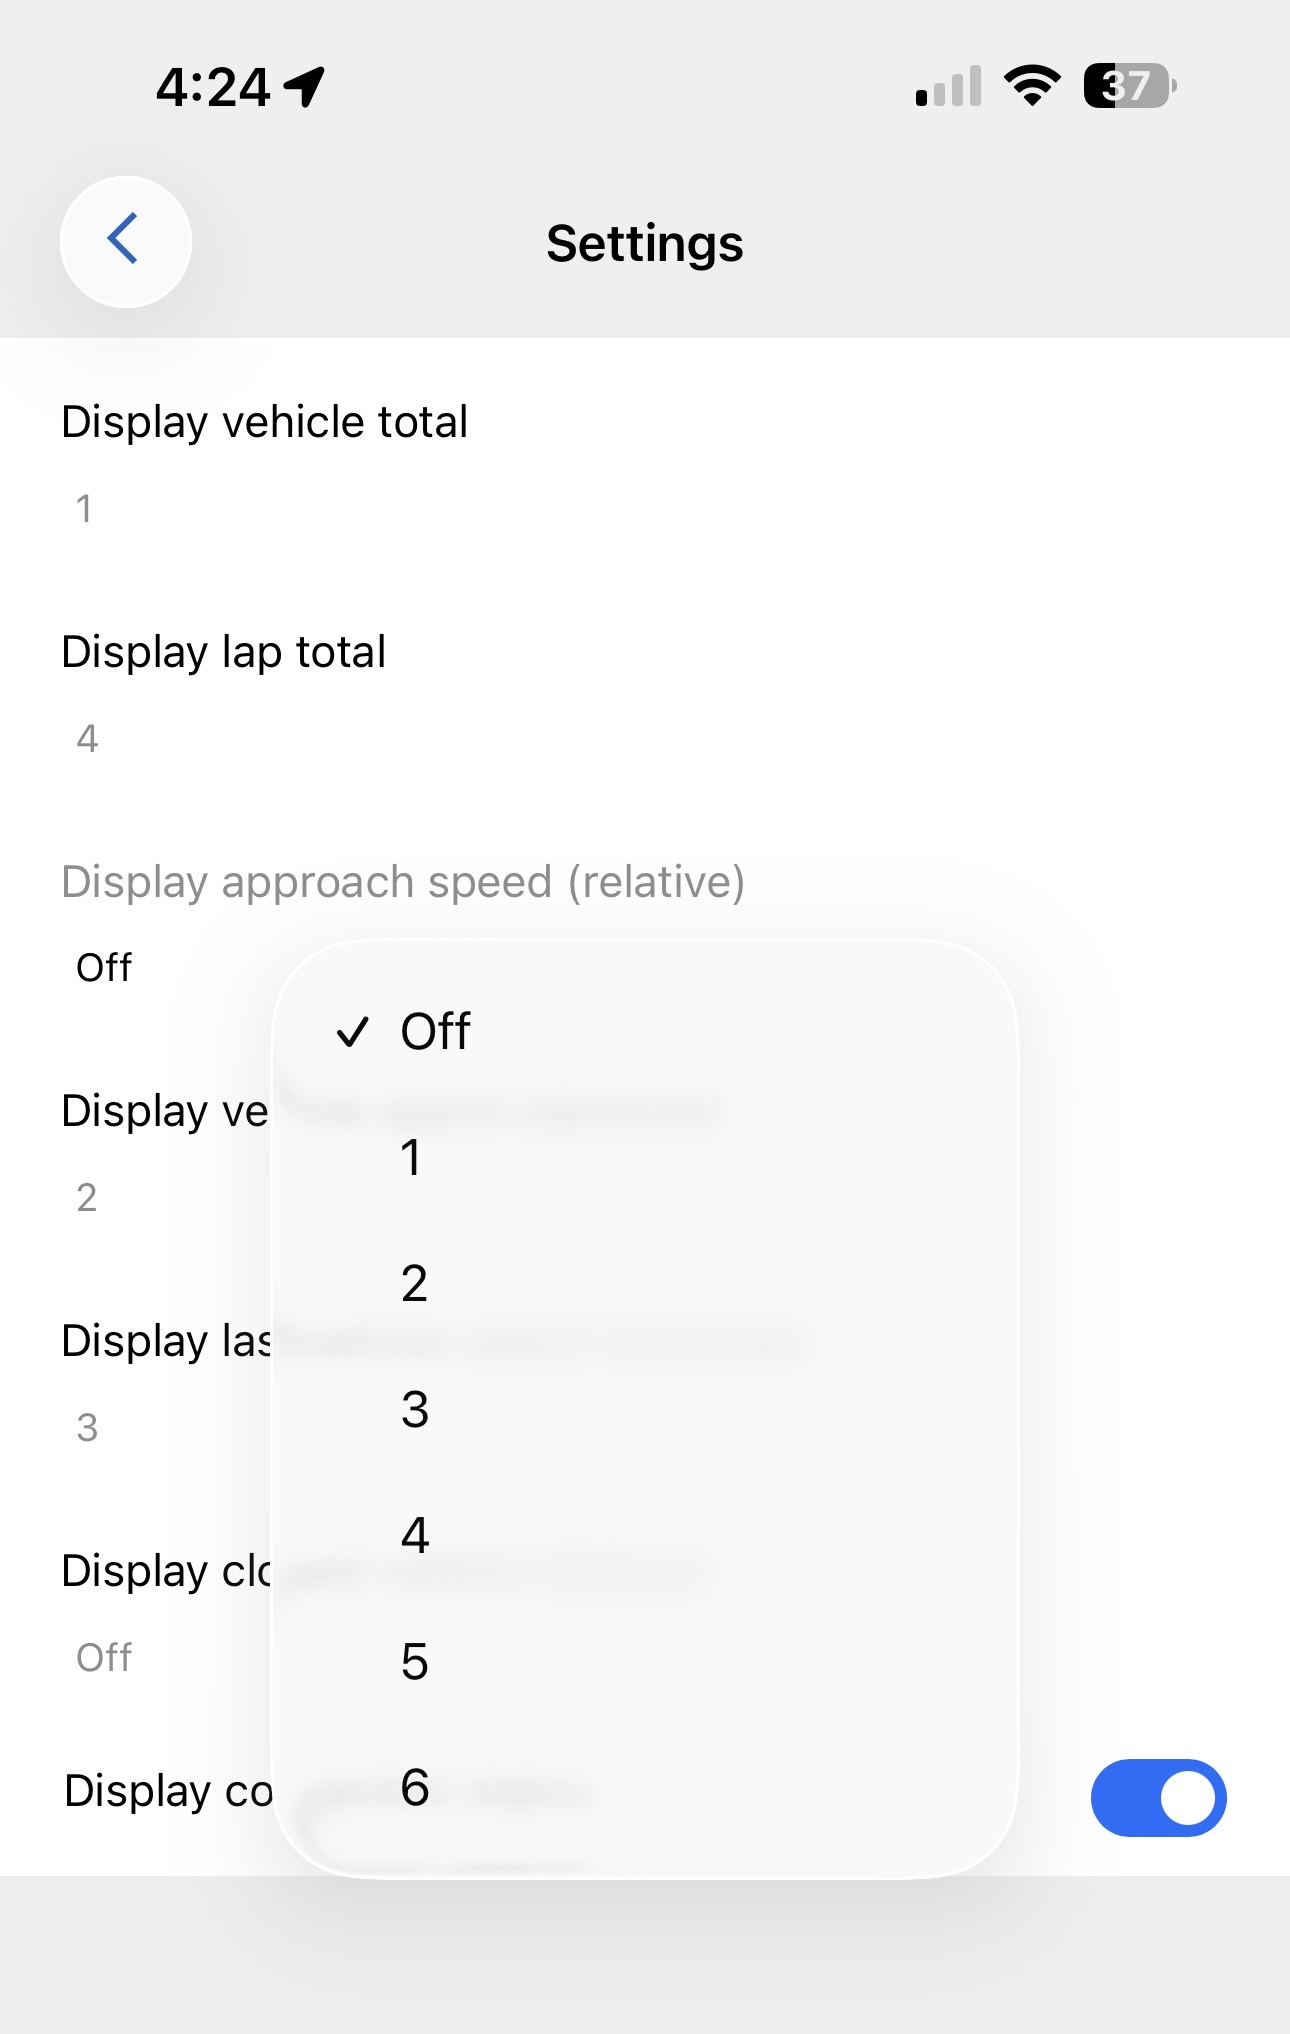
Choose the order in which the data fields are displayed within the data field. "Off" means the field is not displayed. 1 means it will be displayed first, 2 means it will be displayed second, and so on.
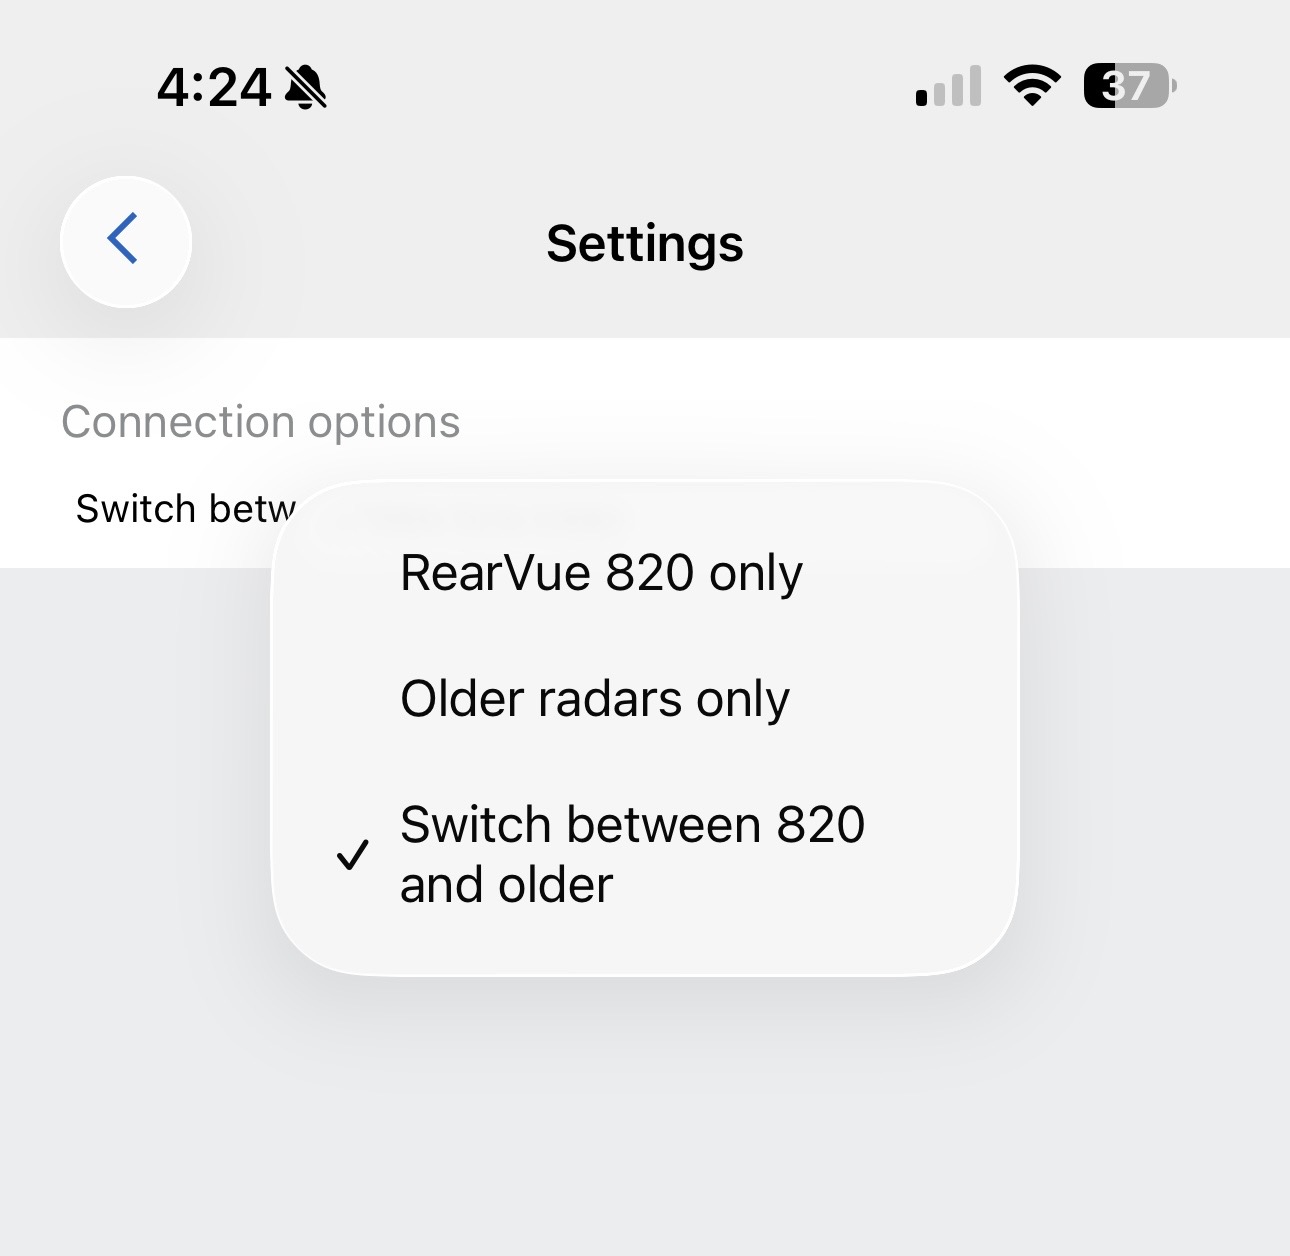
Choose the connection mode for newer devices.
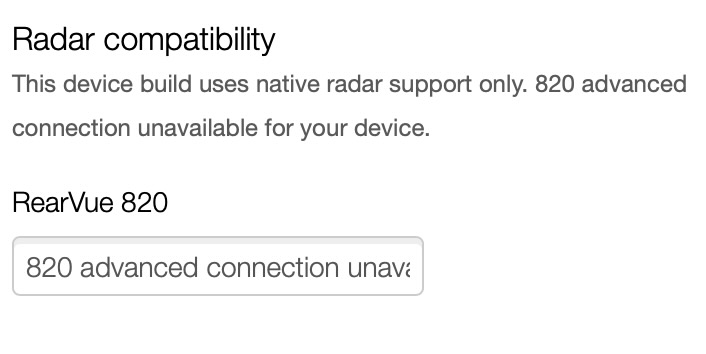
Older devices that do not support bluetooth will see this message in the connection settings.
In order to contribute radar data to this project, at a minimum you need the ConnectIQ app I wrote (see setup instructions below), any model Garmin Varia Radar or clone (Trek Carback works too), and a newer Garmin Watch or Edge device. The list of compatible devices is available on the Garmin Connect IQ store listing, but you will likely want to use the Garmin ConnectIQ Store mobile app to download and install the data field to your Garmin. See ConnectIQ Setup instructions below.
No Garmin? If you have an iPhone or Android phone, check out Cadence cycling and running app, which now integrates with mybiketraffic.com.
Got a Hammerhead Karoo? I am working on an extension for the Karoo I hope to release soon.
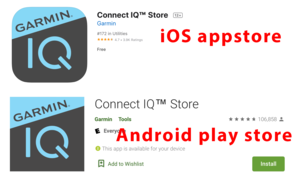 Install ConnectIQ Store app on your phone ... note that this is different than the normal Garmin Connect app
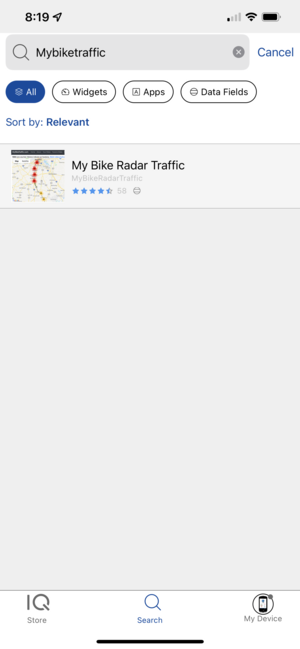 Search for mybiketraffic and install and sync to your Garmin.
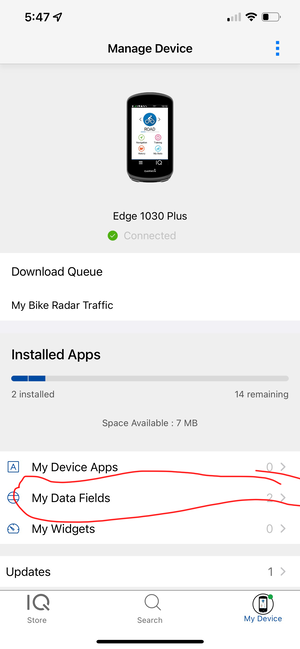 Change settings step 1 open connectiq and click your Garmin device to see which apps are installed. Mybiketraffic is a data field app.
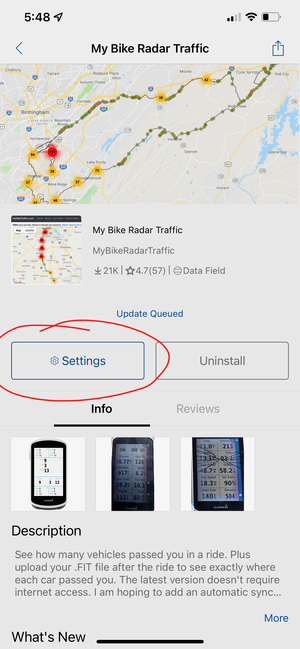 Change settings step 2 click settings.
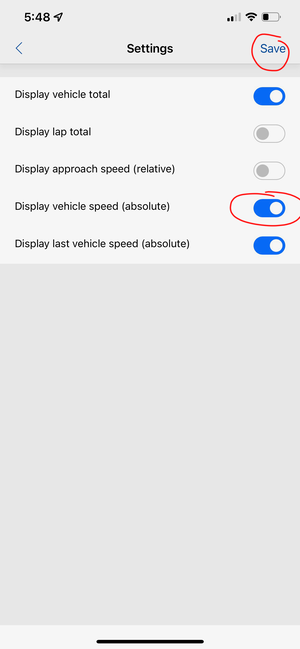 Be sure to click Save!
Please NOTE you must install the connect IQ app onto your Garmin FIRST (see ConnectIQ Setup instructions). To automatically sync your Garmin Connect account with your mybiketraffic account, first visit this link and follow the instructions on that page to authorize the connection to mybiketraffic. Well, that's pretty much it. Afterwards your new rides should automatically sync with mybiketraffic shortly after they appear on Garmin Connect. If you are not seeing them on mybiketraffic, double check that they have been synched to Garmin Connect.
Please NOTE you must install the connect IQ app onto your Garmin FIRST (see ConnectIQ Setup instructions). To automatically have a summary of your ride data added to your ride descriptions on Strava, you must authorize mybiketraffic by visiting this link. I highly recommend also enabling Garmin Sync per the previous paragraph, but if you do not have a Garmin device then you must make sure to upload your rides to this website first, before uploading them to Strava!
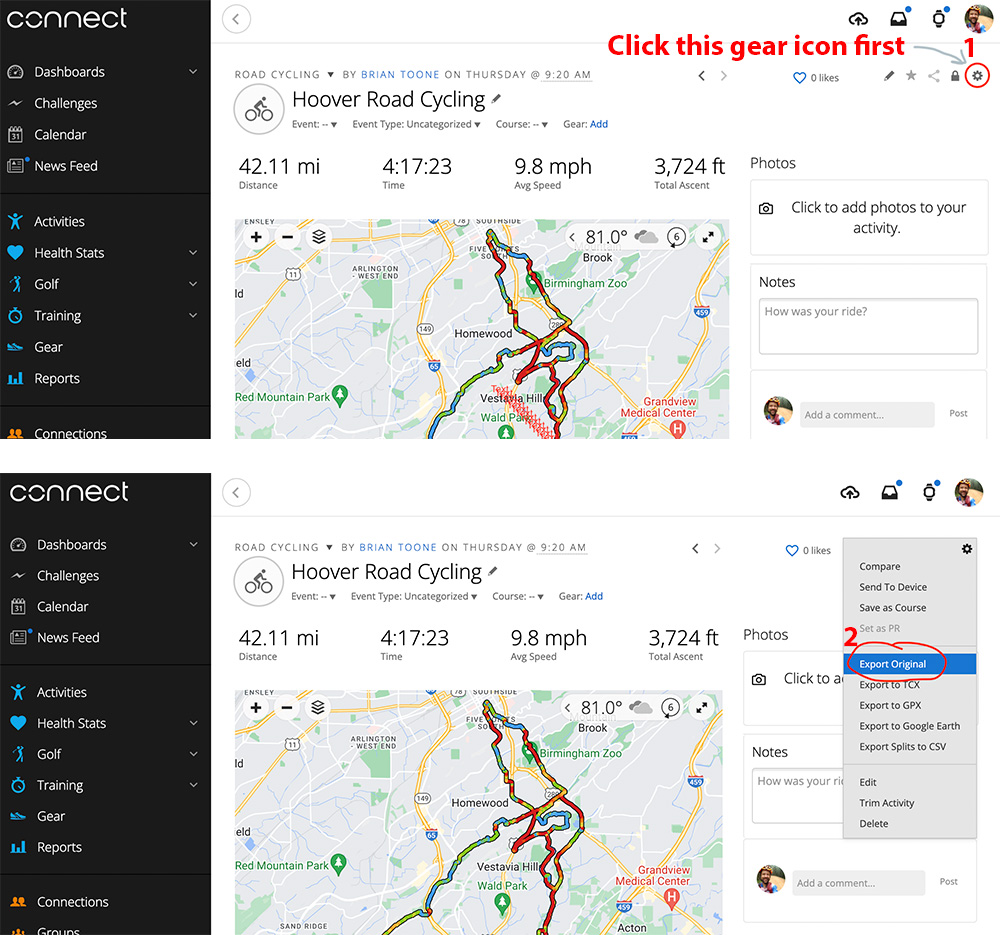
Please NOTE you must install the connect IQ app onto your Garmin FIRST (see ConnectIQ Setup instructions). But after you have followed those instructions and are able to successfully see your Vehicle Count data field on your Garmin, then you should be able to upload the original FIT file to see additional data here on the website. You can either directly connect your Garmin to your computer and then look in the Garmin/Activities folder for the FIT file ... or alternatively if you have synced your ride automatically to Garmin Connect, then you can export the original FIT file from Garmin connect per the screenshot linked here: Garmin Connect Export Original Screenshot Once you have "exported original", a FIT file should show up in your Downloads folder. That FIT file is the file you must upload to mybiketraffic.
Shane Miller, GPLama, posted a nice review and gave a run-through of the features of the app. Check it out here, and be sure to like and subscribe to his page!
In the event that a rider using MyBikeTraffic is seriously injured or killed while riding, it may still be possible to recover radar data from the ride, if the rider was using a compatible Garmin device and had the MyBikeTraffic data field active at the time of the incident.
Important: This information is provided solely to help preserve technical data. It should never take priority over medical care, emergency response, or scene safety.
MyBikeTraffic cannot guarantee that radar data will be available or complete, and recovered data may or may not be useful for understanding the incident.
By uploading or syncing rides, or by using any data, maps, or visualizations from this site to make or inform route decisions (including whether or not to ride a bicycle at all), you acknowledge that MyBikeTraffic makes no claims that use of this site or its data will keep you safe or safer, and you agree to release MyBikeTraffic and its developers, owners, and affiliates from any injury, damage, loss, or claim of any kind arising from your use of the site or from others’ use of data or visualizations provided by the site. If you do not agree with these terms, do not upload rides, sync data, or use MyBikeTraffic services.